This post describes how to configure a 3D model in Blender, import it, and place the object in the scene.
Configure
So, we have open blender file.
It is a good idea to configure axes before the export. Rotate the model to make X axis - Forward, Z axis - Up.
Export
- To export go to Menu -> File -> Export -> glTF 2.0 (.glb/.gltf).
- In Blender File View change Format to glTF Separate. "GLTF + Separate" is the best mode to import.
- Specify Textures folder, set "Textures".
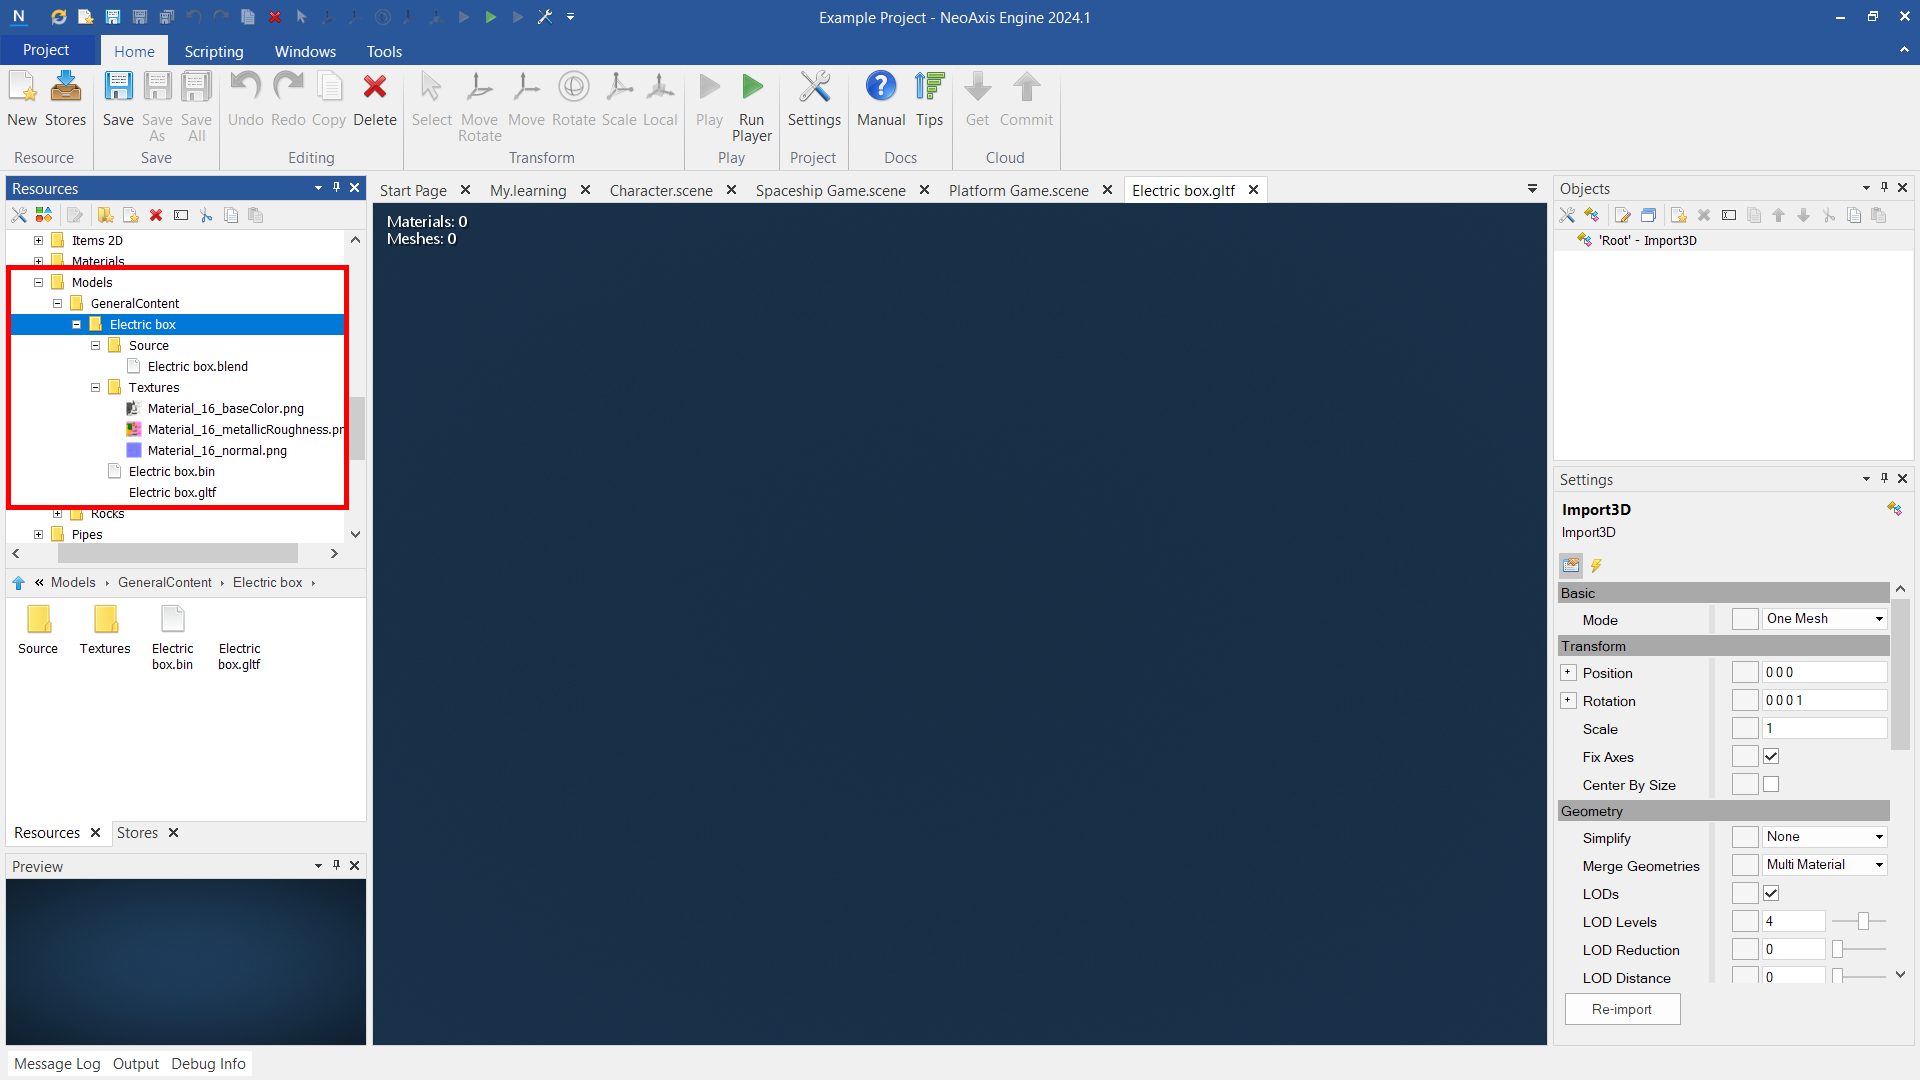
File structure
The convenient file structure is next:
- Use this template for folder naming when adding common content: Assets\Content\{content type}\{your nickname}\{model name}\.
- "Source" folder for blend file.
- "Textures" folder for textures.
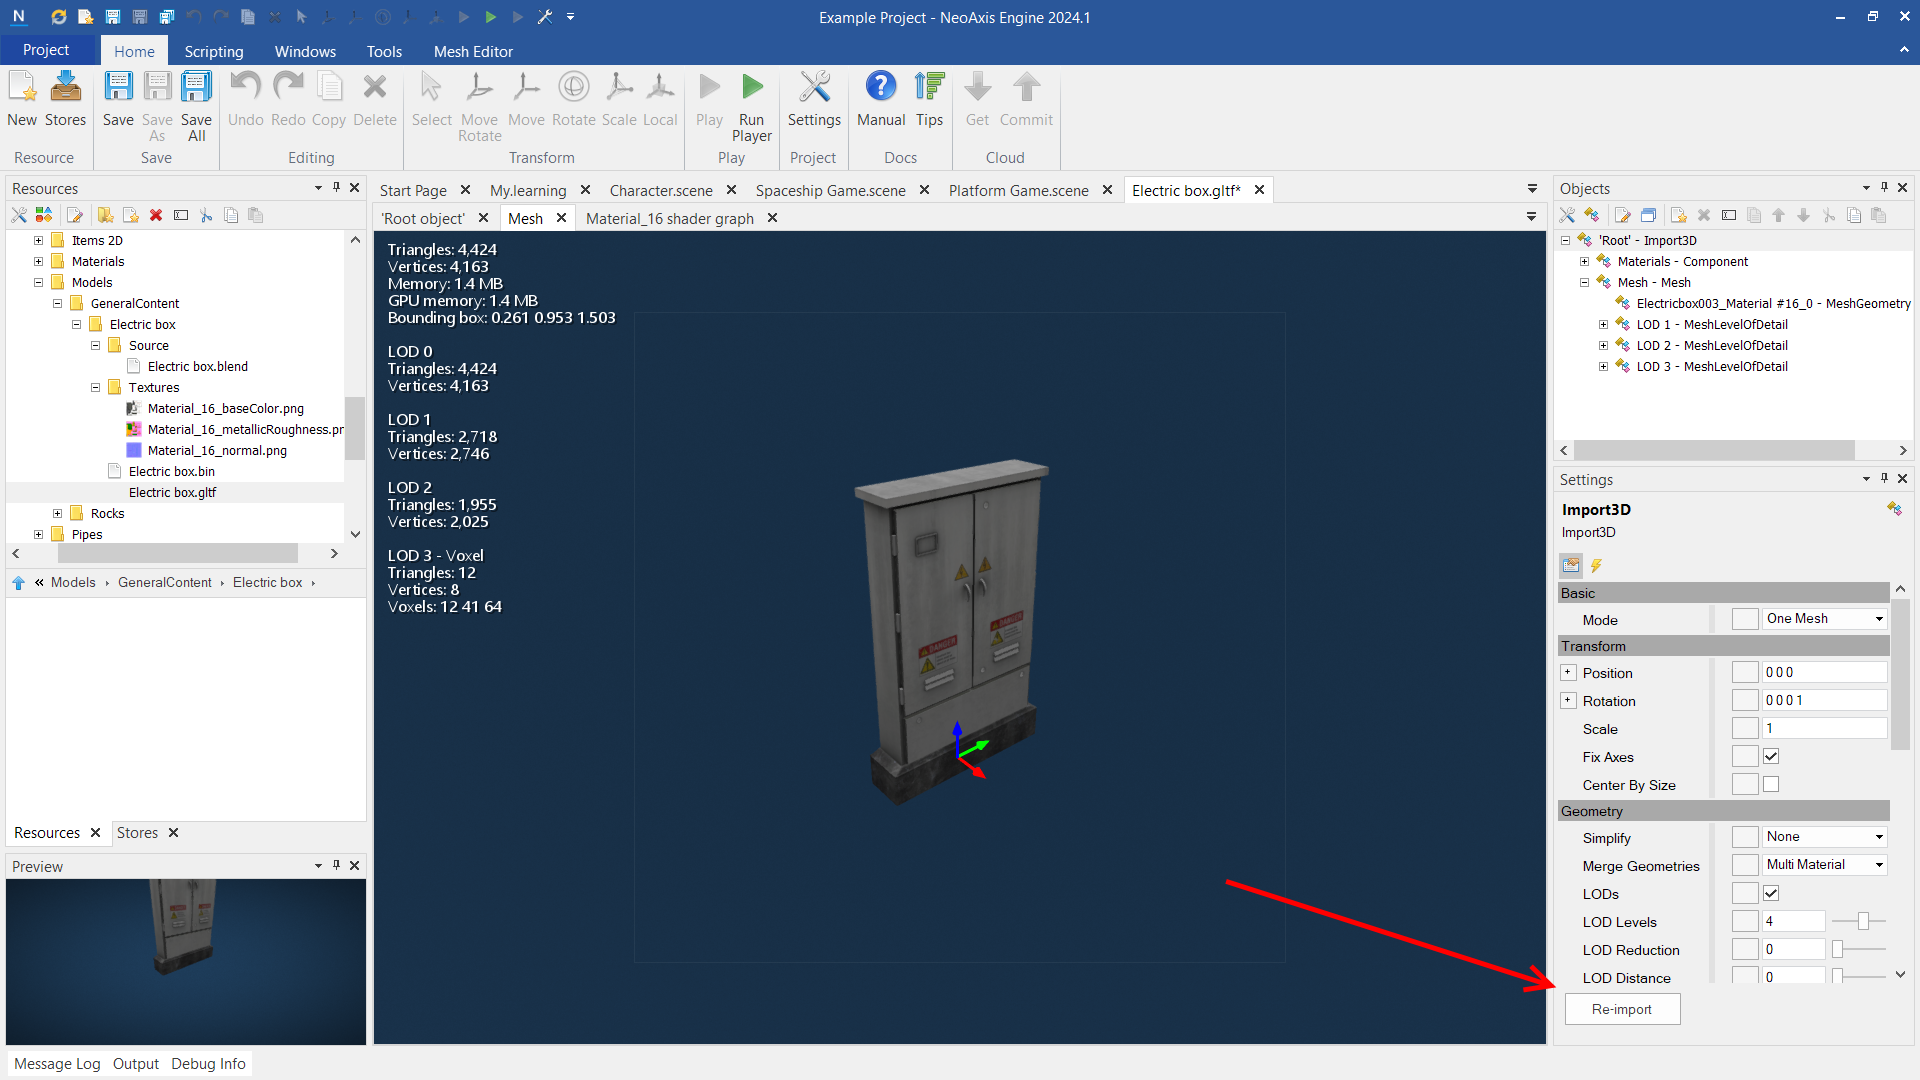
Import 3D model
Open gtlf file in the editor by double click. The resource will open, click Re-import button at the right bottom corner to initiate the import. After click, you will see the model. Save it.
Read more in the manual.
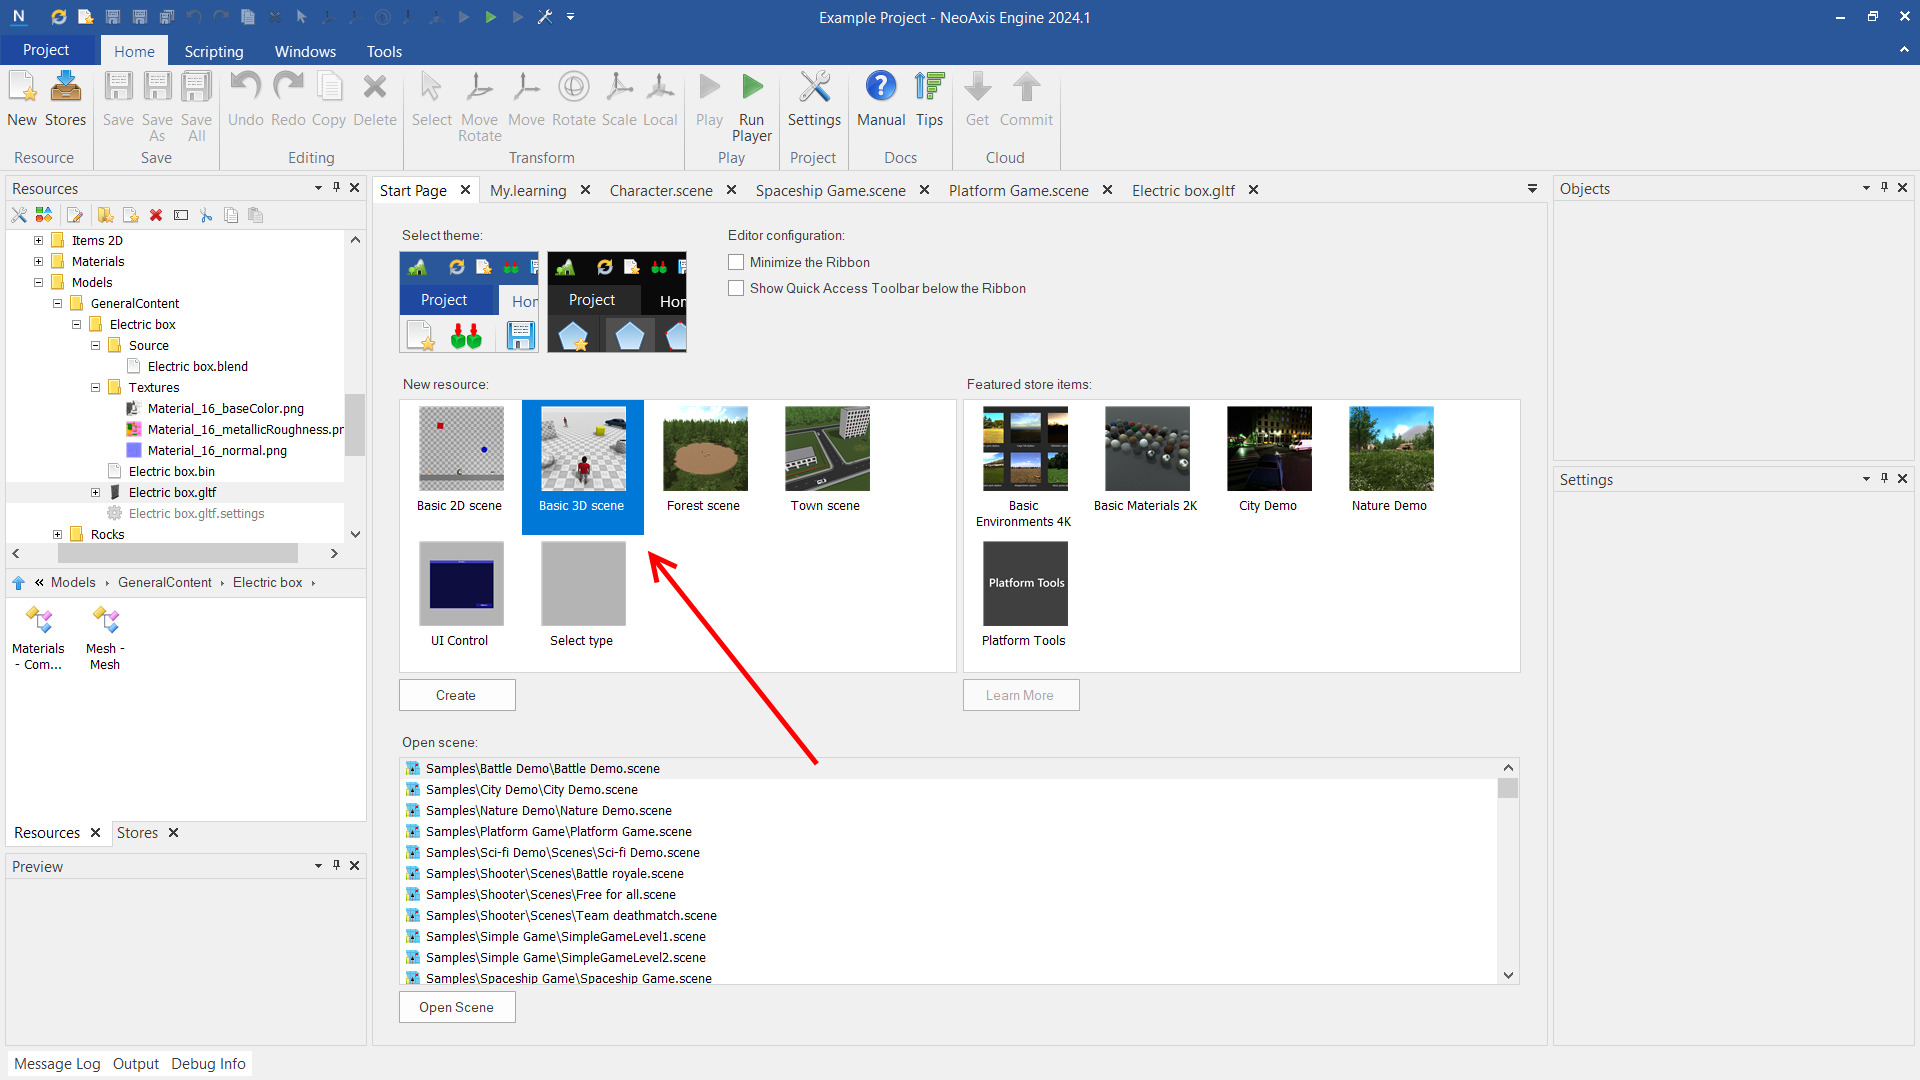
Placing a 3D model in the scene
If you don't already have a scene, you can create one from the Start page.
To locate the resource's placement, utilize the Find in Resources window option from the context menu.
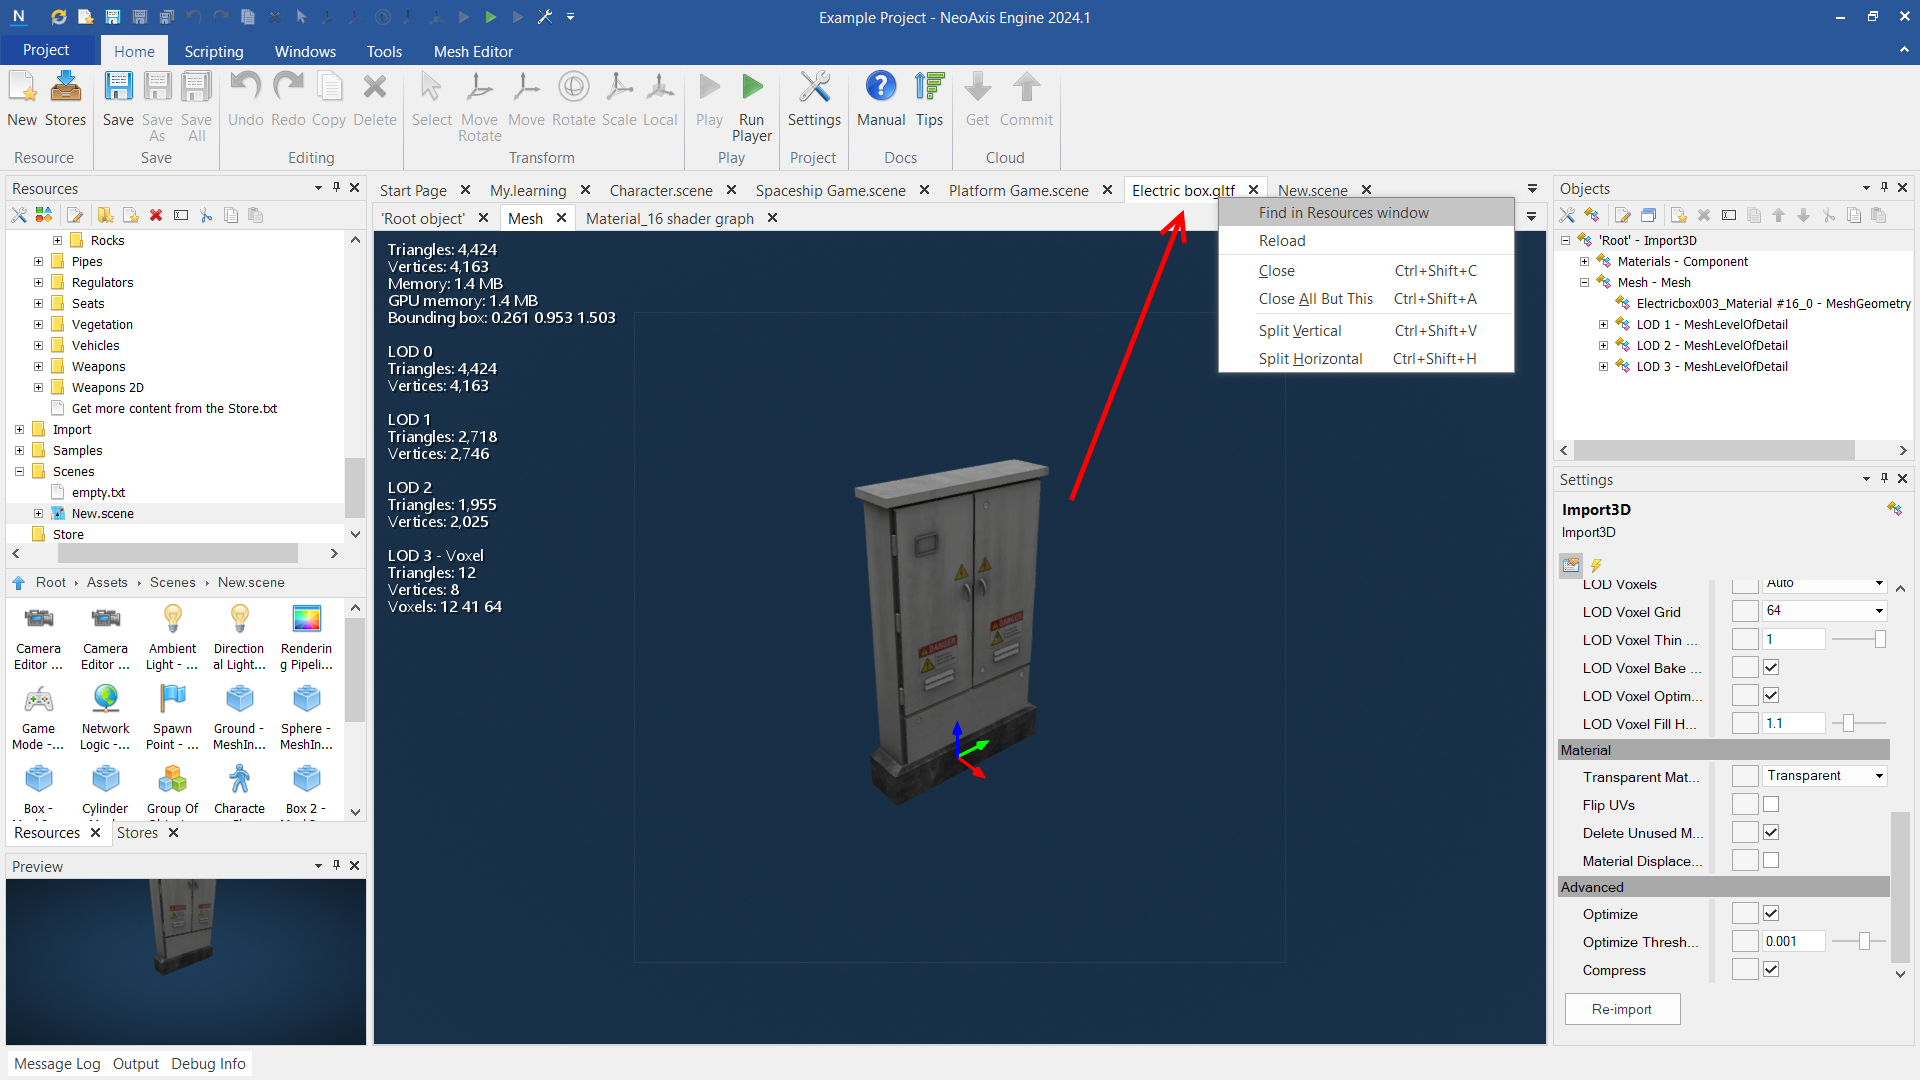
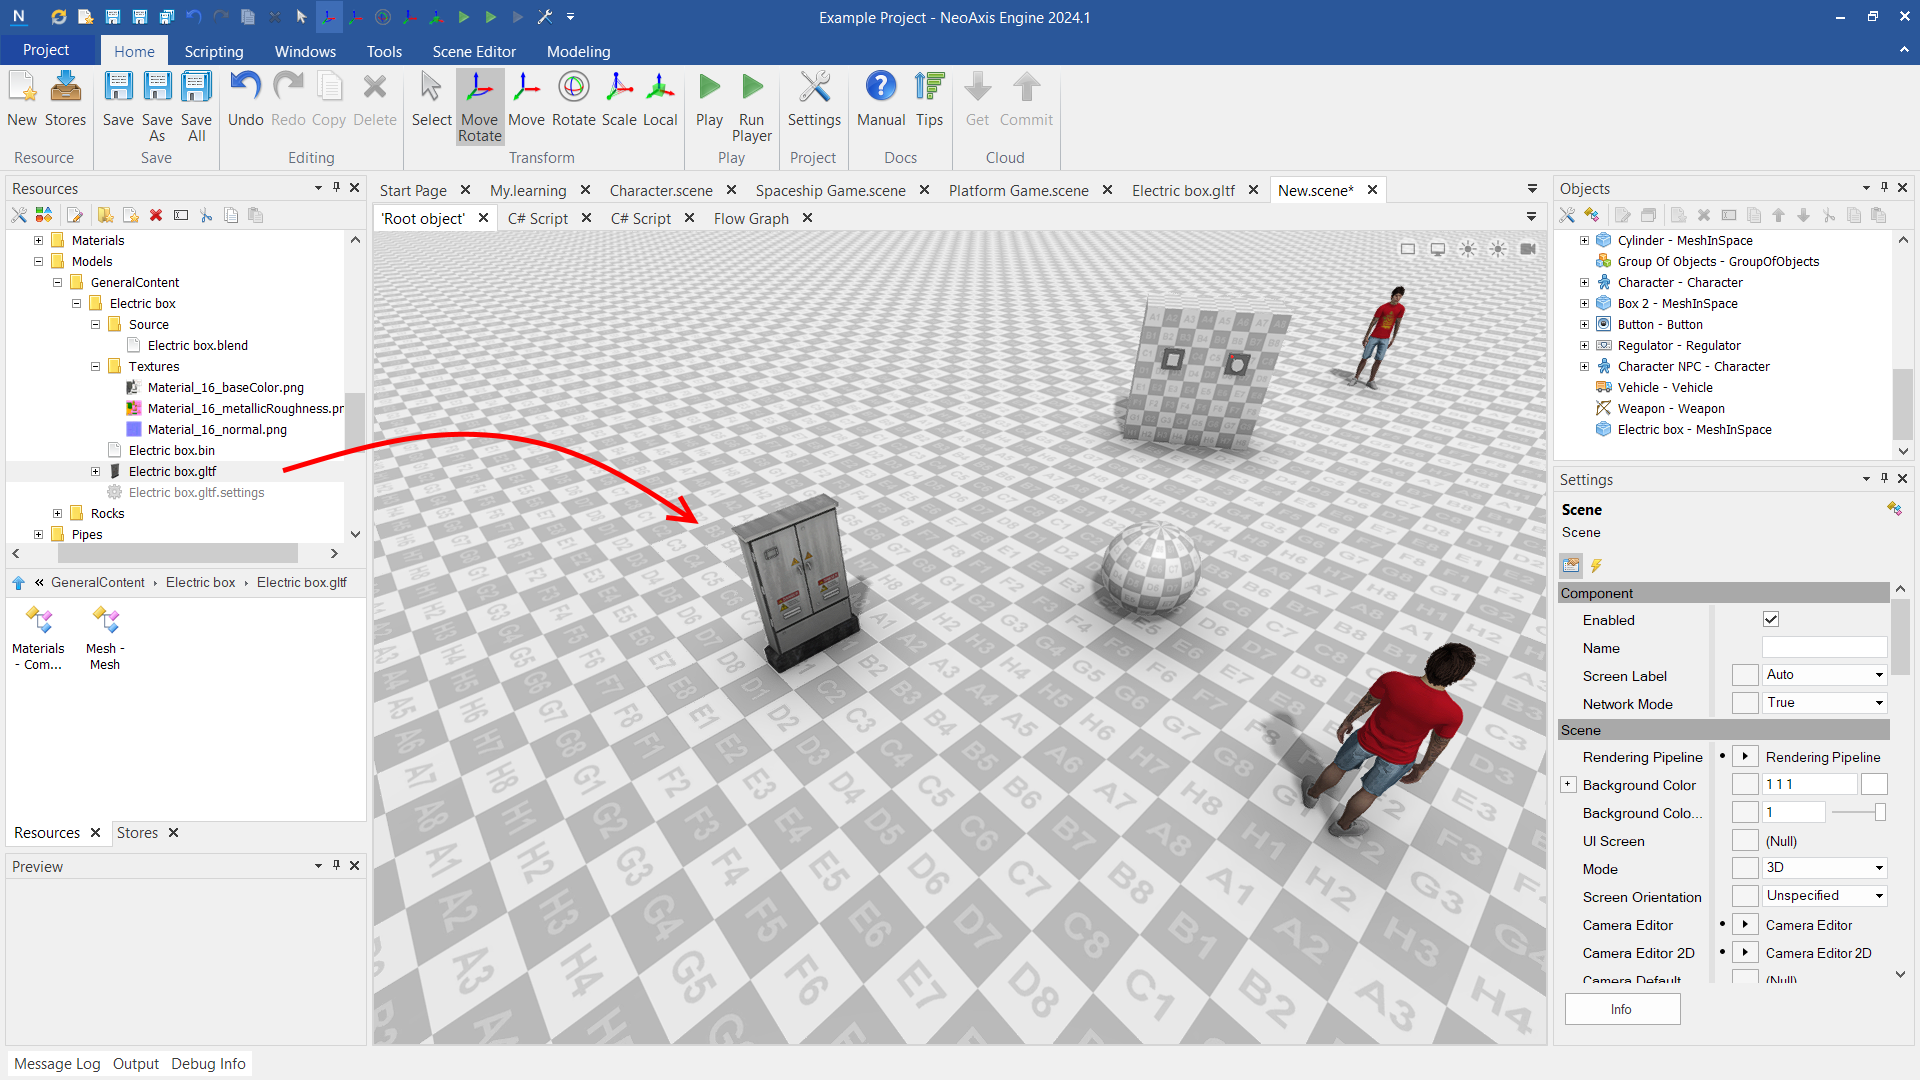
To place a 3D model in the scene, one needs to drag and drop the resource.
See also